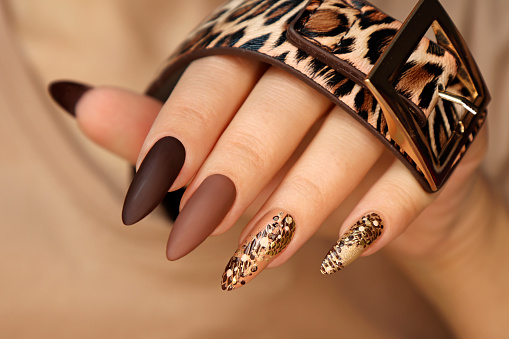
There are different nail techniques: resin, gel and acrylic. The acrylic nail technique is one of the most popular in the United States and Europe. Strangely, in Europe, acrylic is called resin! Not to be confused with the resin technique in Canada.
To make acrylic nails at home, you need to get an acrylic kit , which consists of acrylic powder and monomer liquid. It is the combination of the two that will make it possible to build acrylic nails. The dosage is sometimes difficult to do and the ratio varies from one brand of acrylic to another. I advise you to practice on a practice finger before doing your nail art. You will also need brushes for acrylic. To properly shape your nails, you will also need stencils, which are actually lined paper shapes to put under your nail. Lines help you create nails of the same length easily
Tart fraises, which we no longer present to you, has made an excellent tutorial on the application of acrylic nails, with the aim of repairing a single nail. You can also lengthen all your nails using the same technique. Tart fraises uses clear acrylic for a transparent finish, but you can also use white and pink acrylic for a French manicure effect.
Equipment
- clear acrylic
- Monomer liquid
- Medium Flat Acrylic Brush
- Acrylic primer
- Chablon (paper guide)
The steps of acrylic nails

- Preparing your nails for nail art. You can follow the steps in the video How to prepare your nails before a nail application
- Apply the acrylic primer
- Place the stencil under your natural nail, so that your nail covers part of the stencil. Bend the stencil so that it is in line with your nail and that it follows the natural curve of your nail.
- Apply primer again, without letting it dry
- Immediately apply a ball of acrylic (acrylic + monomer liquid) to the middle of your nail and work it by stretching it on the template and giving it the desired shape
- Apply a slightly larger ball of acrylic at the stress point of your nail (white area when pressing on the nail0
- Finally, apply a fine, slightly more liquid ball near the cuticles and stretch it.
- Allow the resin to dry a little and pinch the sides of your nail with pinching pliers or with your fingers.
- Pinch the stencil to remove it
- File with a coarse grit (80 or 100) to shape the nail, then with a finer grit file and finally finish with a white block
- Clean your nail with alcohol and apply a top coat
